|
||||||||||
| Introduction | ||||||||||
|
|
||||||||||
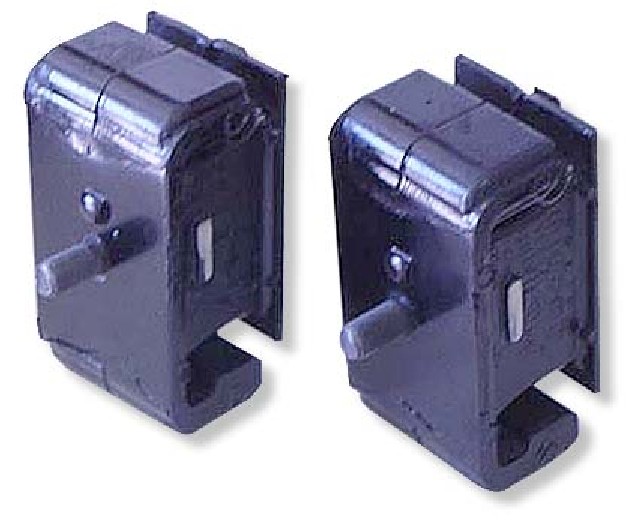
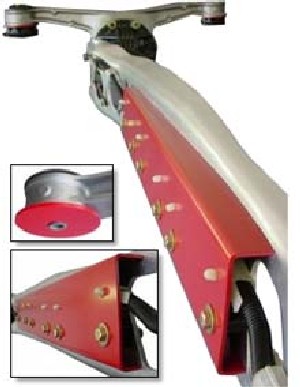
| Our installation instructions have been developed so that even the average weekend mechanic can install our system. It should take a little over an afternoon to install the TDR Intercooler using standard hand, air and electric tools. The instructions include over 70 pictures to help detail the thirteen steps involved in installing the TDR Intercooler. The small photos will enlarge by clicking on them. After Step 10 proceed to Step 11, not Step 11-94FM for continuation of your installation. Due to the Intercooler piping, the factory hood prop cannot be stored in its normal latched position across the front of the engine. Therefore we recommend using pneumatic hood struts with our TDR intercooler systems. TDR has these available for your convenient. This intercooler has been designed and tested specifically for the 1990 to 1997 Mazda Miata using the BR Performance MP62 Supercharger or the Jackson Racing M45 Supercharger. Extensive testing was done on and off the track, where we monitor our results and improve our system. Our system can be used in low-boost and high-boost applications such as track and heavy-duty street use. The TDR Intercooler unit installs in front of the air conditioning evaporator and bolts in using factory mounting holes. The TDR Intercooler does require some modifications in the engine bay and radiator area, but the modifications are not extensive. The brushed stainless steel 2 1/8" mandrel-bent tubes are designed to keep the length of the airway as short as possible to maintain quick throttle response and reduce pressure drop. All TDR panels are CAD-designed and cut on a CNC router to ensure a perfect fit. Additionally, the radiator shield is powder-coated in a beautiful black crinkle finish on the radiator support, with a stainless steel front half. Suggested Upgrades With the added horsepower and torque, we strongly suggest upgrading your radiator and motor mounts. We designed our radiator shrouding to increase air flow to the radiator. With the Intercooler mounted, air flow to the radiator is reduced and could cause overheating under some conditions. The best upgrade would be the PWR radiator, this is an excellent upgrade choice. The 1 1/2" depth makes it easy to install, and it provides excellent cooling capacity. To upgrade your radiator, contact Track Dog Racing. NOTE: The aftermarket automatic transmission radiator, often used as an upgrade, will not work with the TDR intercooler system. The removable factory side mount supports which are on the stock radiator are required in our installation. The PWR high performance radiators use the factory support brackets if you upgrade. Also note that the KOYO radiator will not work with the TDR Intercooler as the upper tank is 3/4" higher than normal If you have ABS brakes, the windshield washer filler neck will need to be modified. Shorten the filler neck is not difficult to do. If you have not replaced your motor mounts with our Mazda Speed Heavy Duty motor mounts we suggest you upgrade as soon as possible. Excessive engine movement can cause extra stress on your dive train components, including the transmission and the TDR intercooler system. We also offer the PPF power frame stiffener that will increase power train rigidity and reinforce the rear differential mounts. Track Dog Racing can provide you these components.
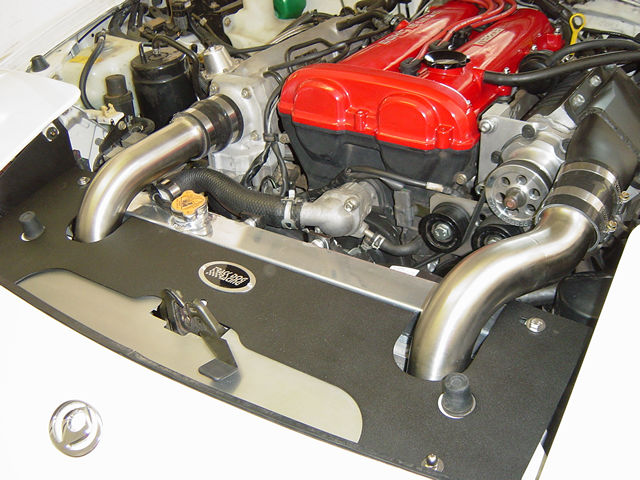
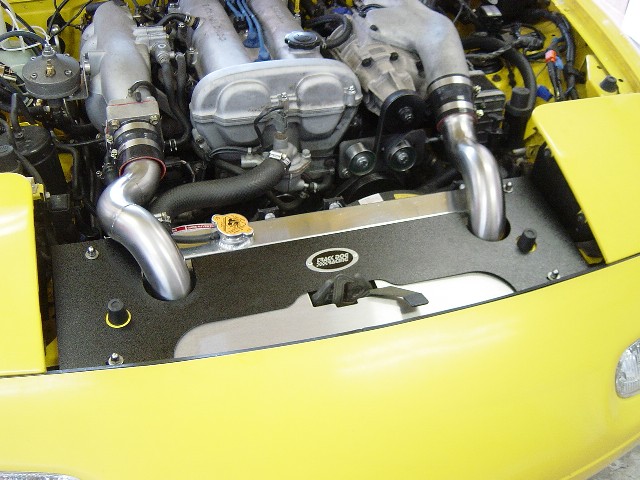
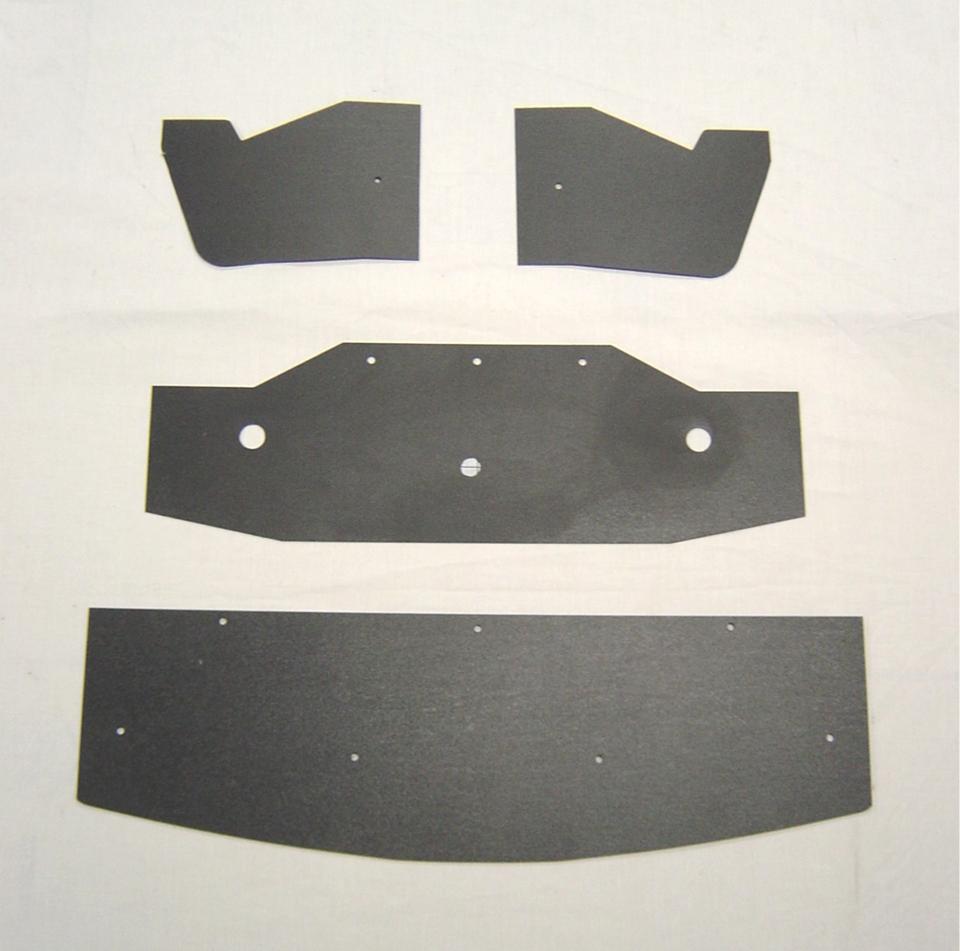
The Track Dog Racing Intercooler Components As you can see from the two photos below, the TDR components are of the highest quality. Our design was engineered to be the most efficient Intercooler system on the market. We believe our instructions are extremely thorough, and we have provided pictures of every step of the installation. If at any time you need assistance please contact us at 214-340-9797 or email us at support@trackdogracing.com.
Required Tools The chart below lists some of the tools and materials that will be needed. Feel free to use tools other than what we recommend to help in the installation. Your feedback is important, and if you have any suggestions, please let us know. We would appreciate it. |
||||||||||
|
||||||||||
|
|