| Install
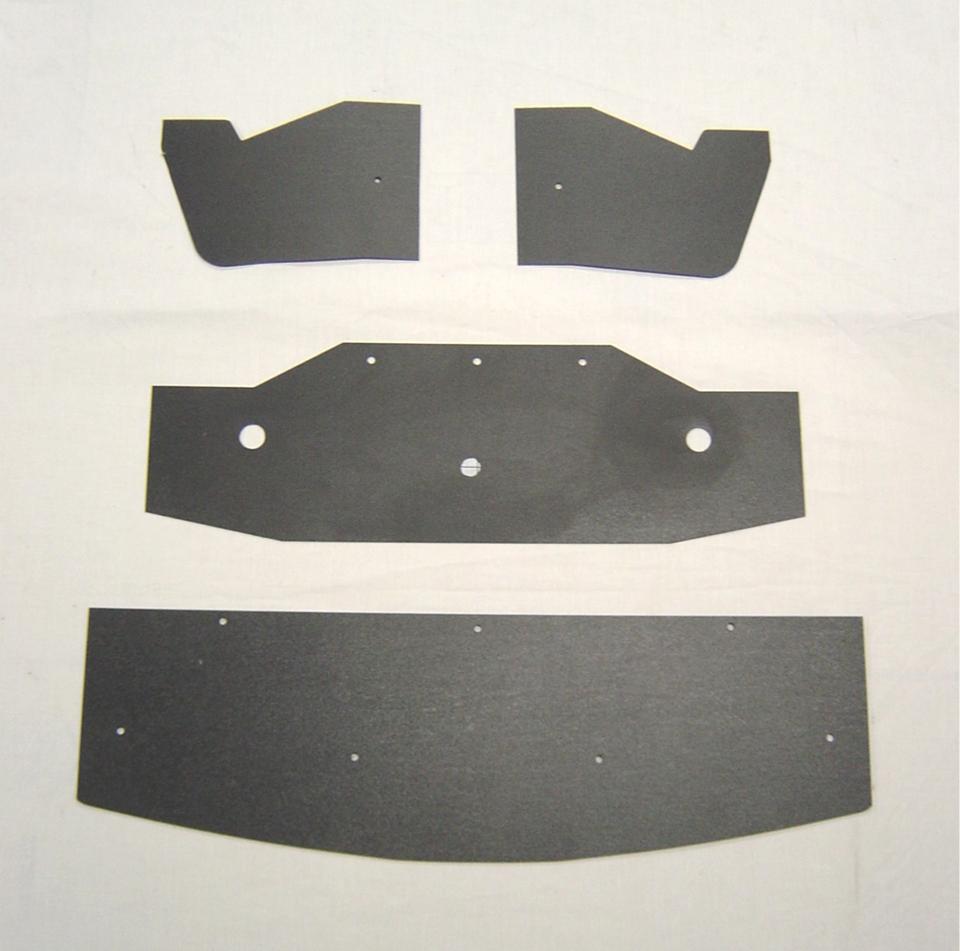
The Upper Panel
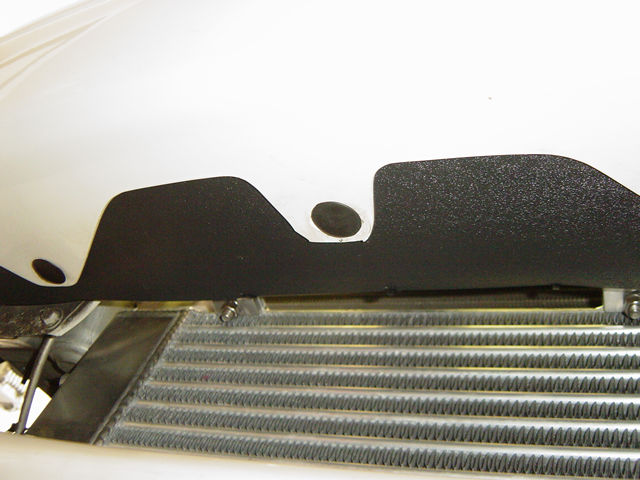
This panel mounts in the mouth of the front opening between the
bumper and the bumper supports of the car, as seen in Photo 6-B.
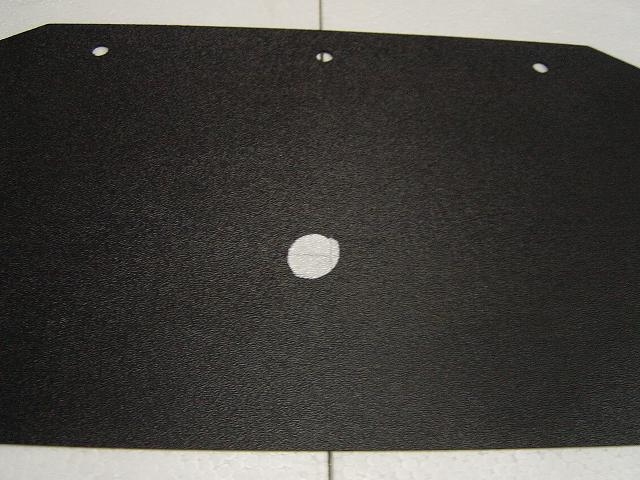
The plastic panel comes pre-drilled for the two outside holes,
which you will use for alignment to mark and drill the center
hole. The upper
panel is also used on the M2 Miatas. The M2 Miata does not have
a center mounting hole like the M1 Miatas.
Hardware
Package B-1
- Mount so the textured side is visible
and the three small mounting holes are at the back. Pull the
bumper down a little so that you can slide the panel into position.
- Push the new plastic mounting
plugs partially in through the bumper on the two sides.
Do not push them in all the way; this step is for alignment
to mark the center hole for drilling. Mark the hole for drilling.
- Remove the Upper Panel and
drill using a 3/4" hole saw or a smaller drill
bit and finish with a utility knife.
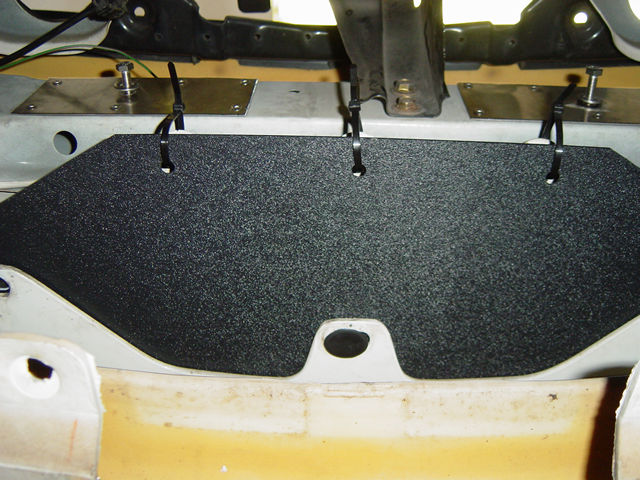
- Reinsert the Upper Panel into
the bumper and insert the 3 plastic plugs about half-
way in. Use the supplied Zip-Ties and loosely attach the back
section of the Upper Panel as shown in Photo 6-C.
- Bend the Zip-Tied tabs up.
This will improve the air flow into the radiator area
as shown in Photo 6-B.
- Push the plastic plugs securely
in place.
- Tighten the Zip-Ties and
cut off the ends.
|