 The
new plastic radiator panels increase the frontal area, therefore improving
air flow compared to the factory shrouding. In STEP
6 you installed the Middle panel under the front bumper. The next
steps will be to install the Bottom and Side panels.The sides will now
be closed off, with the new panels providing better airflow through the
A/C evaporator and the radiator. If the panels require any additional
trimming, use Tin-Snips to cut the plastic. The
new plastic radiator panels increase the frontal area, therefore improving
air flow compared to the factory shrouding. In STEP
6 you installed the Middle panel under the front bumper. The next
steps will be to install the Bottom and Side panels.The sides will now
be closed off, with the new panels providing better airflow through the
A/C evaporator and the radiator. If the panels require any additional
trimming, use Tin-Snips to cut the plastic.
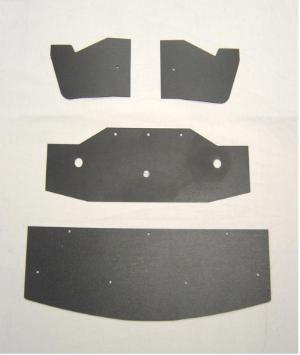
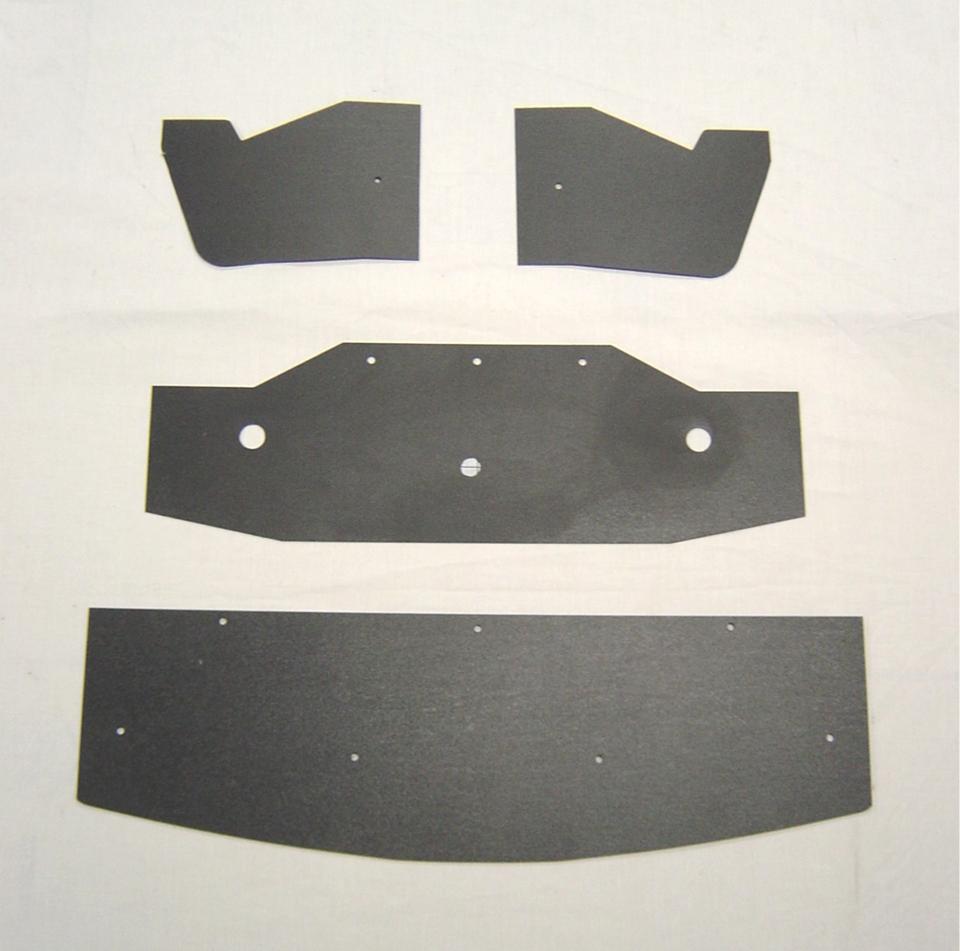
12.1 Installing The Bottom
Panel
Hardware Package
H-1
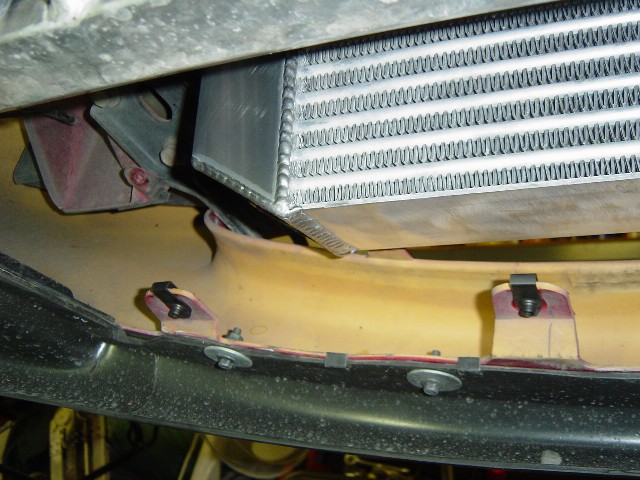
The Bottom panel is installed
using Speed nuts with the texture side on the inside.
- Install Speed
nuts on the lower section of the bumper as shown in Photo
12-A.
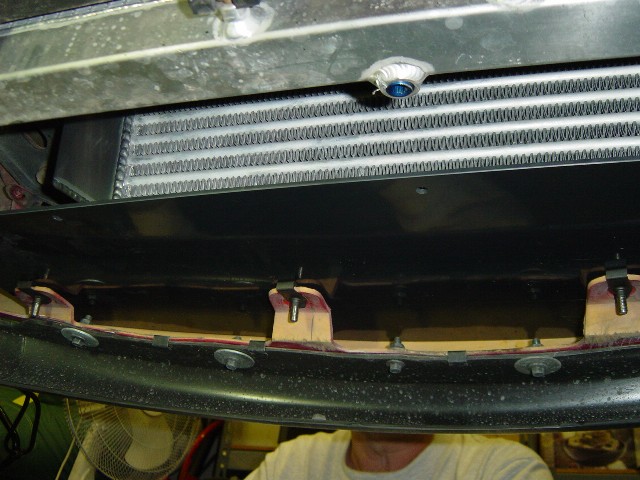
- Install one
10 x 25 mm long bolt and washer through the Bottom
panel to help in aligning the bottom panel as shown in Photo 12-B.
The bolts come in from the top.
- Install the remaining
bolts and
washers into the Bottom panel and tighten.
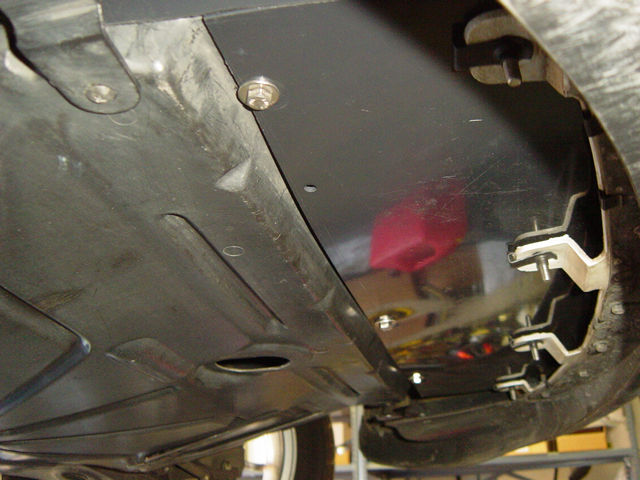
- Install the belly
pan. The belly pan will now attach to the new Bottom panel
on the front.
- Install Speed
nuts on the belly pan as shown in Photo 12-D with the tread
section on the inside. The photo in 12-D shows the belly pan on the
outside of the new front Bottom panel for illustration only.
- Attach the belly
pan to the new front Bottom panel with the belly pan on the
inside of the new front panel using 10 x 25mm bolts and washers as
shown in Photo 12-E.
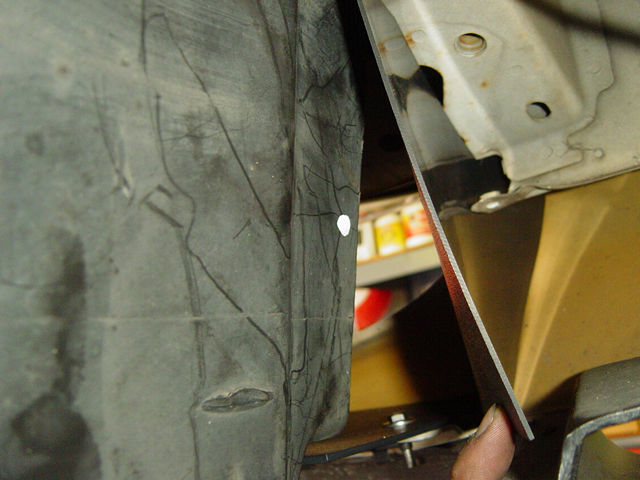
12.2 Install The Left
And Right Side Panels
Install the belly pan before
installing the Side panels. The left and right side panels install in
the same manner using Speed nuts.
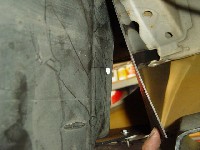
- Install the panel with
the textured surface facing inwards by feeding it into the front
area of the car from the engine bay. It may take a bit of wiggling
to get this to fit but the flexibility of the plastic will help get
the panel into place. Be sure that the front is wedged between
the factory bracket and the bumper.
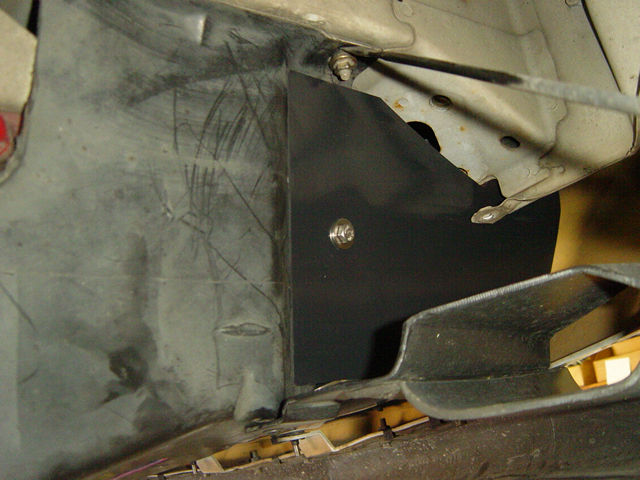
- With the belly
pan attached, use a white marker pen and make a mark through
the new side panel hole on to the belly pan where a mounting hole
will be drilled as shown in Photos 12-F and 12-G. If you do not have
a white marker, put masking tape on the belly pan where the mark will
go and use another color. Use a 1/4" drill bit to drill a hole
through the marked panel.
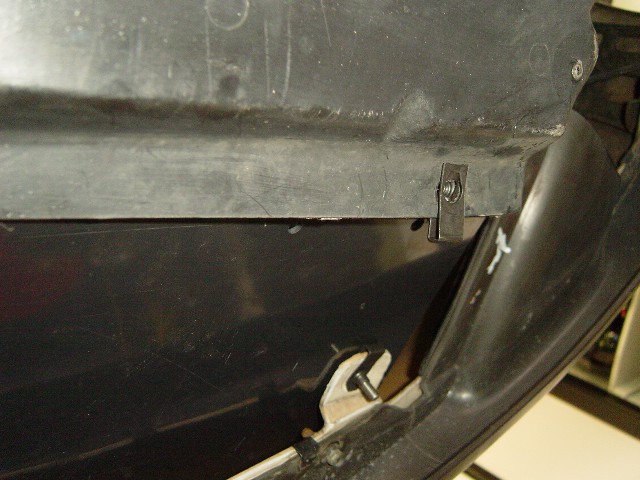
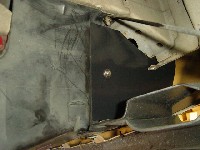
- Attach a Speed
nut, to the belly pan over the new drilled hole as shown
in Photo 12-H.
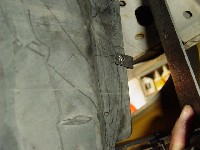
- Secure using a
10 x 25 mm bolt and washer as shown in Photo 12-I.
- Follow the same
procedures for the other side panel.
Click
on thumbnail image to see larger image in a new window
 |
 |
 |
| Photo
12-F: Mark through the side panel to the belly pan side panel |
Photo
12-G: Mark shown on belly pan side panel |
Photo
12-H: Speed nut attached to belly pan side panel |
 |
|
|
| Photo
12-I: Side panel attached |
|
|
|
 The
new plastic radiator panels increase the frontal area, therefore improving
air flow compared to the factory shrouding. In STEP
6 you installed the Middle panel under the front bumper. The next
steps will be to install the Bottom and Side panels.The sides will now
be closed off, with the new panels providing better airflow through the
A/C evaporator and the radiator. If the panels require any additional
trimming, use Tin-Snips to cut the plastic.
The
new plastic radiator panels increase the frontal area, therefore improving
air flow compared to the factory shrouding. In STEP
6 you installed the Middle panel under the front bumper. The next
steps will be to install the Bottom and Side panels.The sides will now
be closed off, with the new panels providing better airflow through the
A/C evaporator and the radiator. If the panels require any additional
trimming, use Tin-Snips to cut the plastic.