|

|
| Step
1 - Removal of Factory Parts |
| |
| The TDR intercooler
instructions assume that the factory power steering and air conditioner
are in place and that the factory shipping tie-down hooks that are located
in the radiator area are already removed. If the tie downs have not
been removed there are three 17mm bolts holding each of them on.
Drive your car onto a level
surface, put the car in gear, apply the parking brake and block off
the rear wheels. Jack up the front of the car and secure with jack stands.
Remove both front wheels.
1.1 Belly Pan Removal
Remove the factory belly
pan. It will be reused. The hardware uses 10mm bolts and Phillips screws.
|
Click
on thumbnail images to see larger image in a new window |
|
|
|

|
|
Photo
1-A: Remove belly pan |
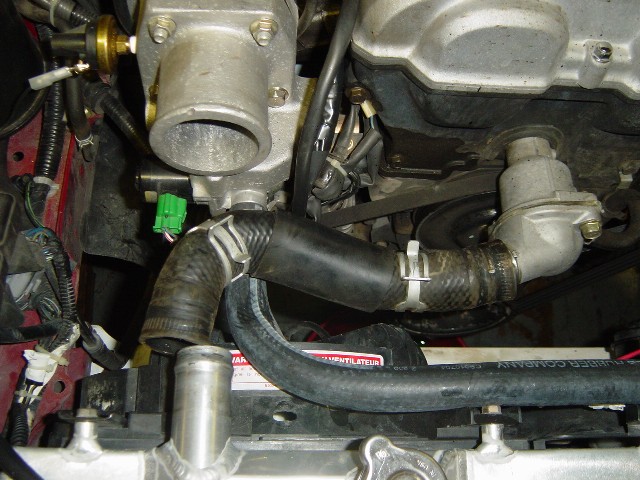
Photo
1-B: Lower radiator hose |
Photo
1-C: Upper radiator hose |
1.2 Radiator Removal
If the radiator fluid is
still good, drain it into a container for reuse. (Caution: The radiator
fluid could be hot and burn your skin. Radiator fluid is toxic so keep
the fluid away from pets and children.)
- From below the car:
Remove the radiator drain plug. After the radiator fluid begins
to drain, remove the radiator cap to let the fluid drain more quickly.
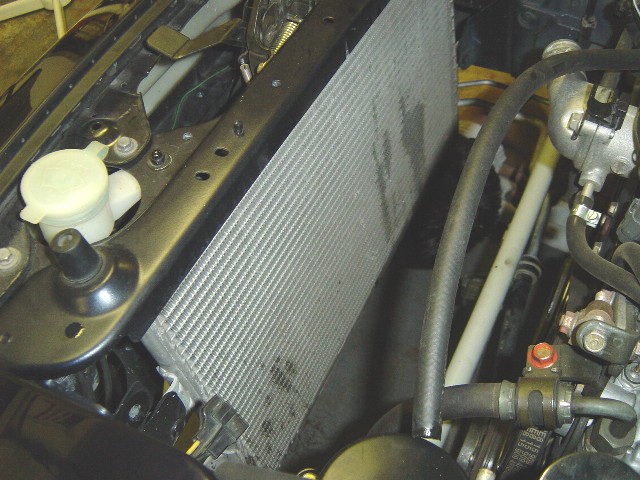
Disconnect the lower radiator hose and have a catch can handy because
radiator fluid will be leaking out from the hoses as shown in Photo
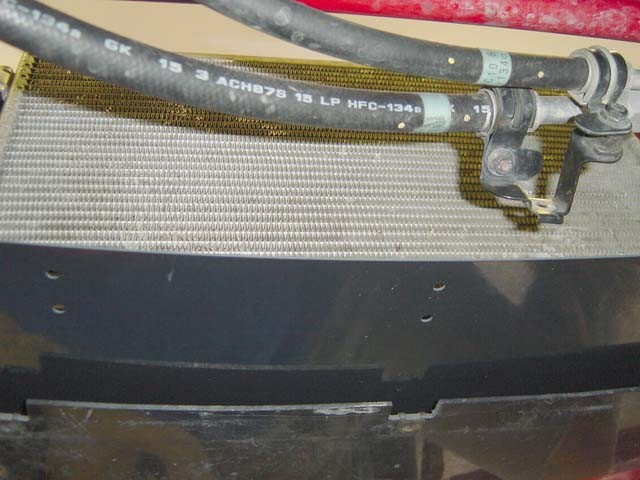
1-B. Using a 10mm socket, remove the bolt that holds the bracket for
the A/C hoses as shown in Photo1-D.
- From above the car:
Remove existing crossover tube if it is still in place. Push small
rags into the supercharger and throttle body openings to make sure
metal filings don't get into the engine. Remember to remove the rags
before installing the intercooler tubes!
- Disconnect the upper
radiator hose from both the radiator and thermostat housing as
shown in Photo 1-C. This will be trimmed in a later step before reattaching.
Disconnect the radiator overflow hose.
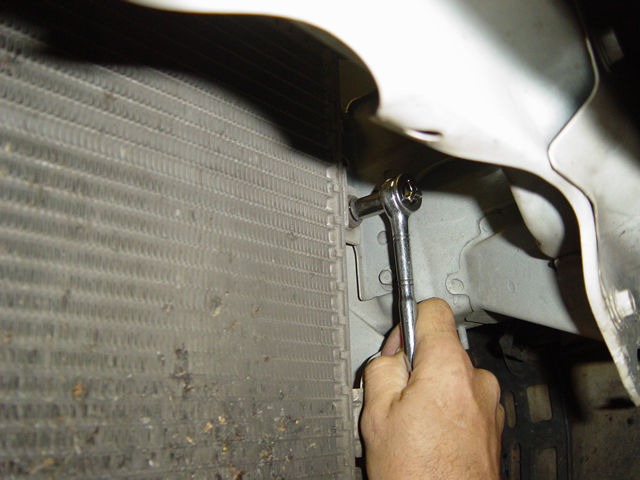
- Remove the two
10mm nuts that hold the radiator
brackets in place as shown in Photo 1-E.
- Disconnect the
two power connections for the radiator fans.
- Once everything is
disconnected, lift the radiator out and place it in a safe location.
1.3 A/C Condenser Coil
Removal
The A/C condenser is removed
to modify the mounting brackets. If you don't have A/C pass on this
step.
- Remove the four 10mm
bolts from the A/C condenser's upper and lower locations,
as shown in Photos 1-G through 1-I.
- Gently pull up
on the condenser to remove it from the lower mounts, then
push it towards the engine, being careful not to damage the unit.
Use a bungee cord or similar strap to gently hold back the A/C condenser
coil out of the way.
- Remove the factory
horn. You can reinstall it after the Intercooler is installed.
An alternate location may be required.
|
| |
|
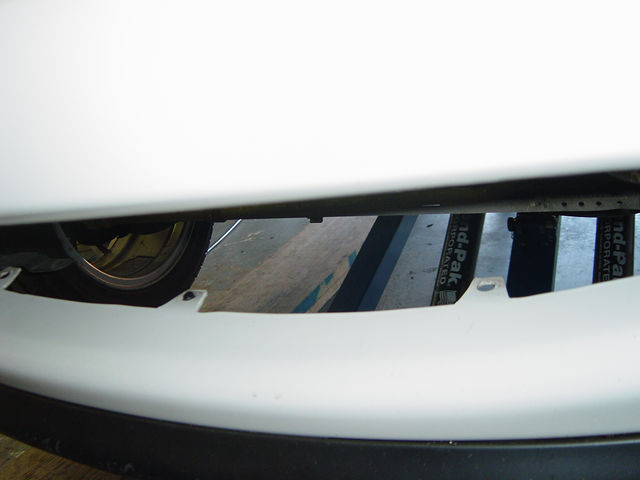
1.4 Front Intake Area
Remove the plastic shroud
in the mouth of the car and modify the frontal area.
- There are several plastic
screw clips that hold the shroud in place. When all the screws,
clips, nuts and bolts are removed, pull the shroud out through the
bottom of the car. This will not be reused.
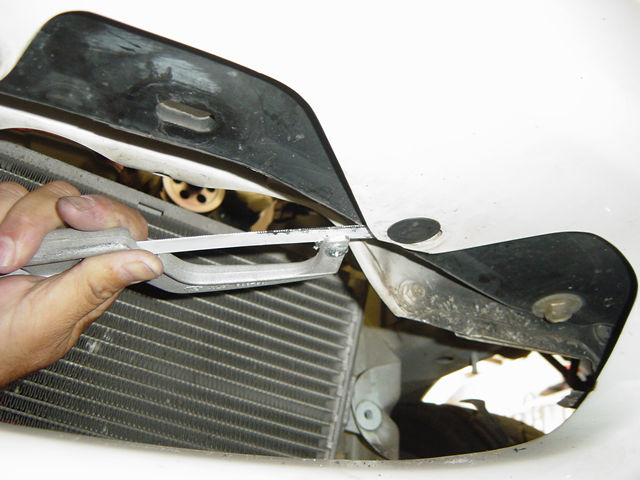
- Remove the plastic
plugs under the bumper. If you are unable to remove the plastic
fasteners using a screwdriver, use a hacksaw and cut between the bumper
and the plastic support as shown in Photo 1-K. These will be replaced
with new ones included with the kit.
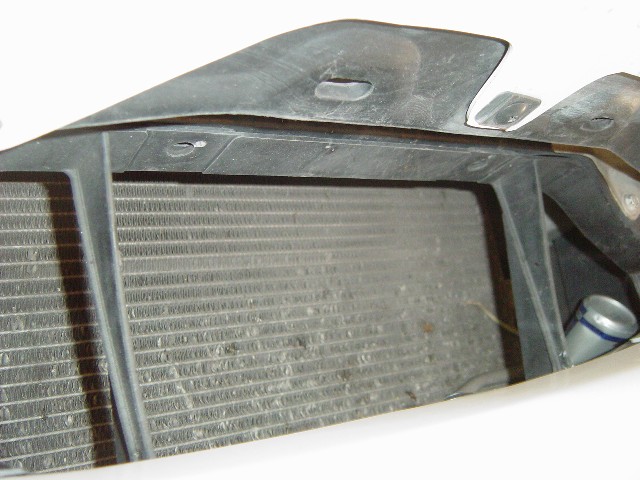
- Cut straight across
on the two metal tabs that are blocking the opening as shown
in Photo 1-L. They serve no purpose anymore. A single-ended hacksaw
works best with the minimal area to work with. Photo 1-K shows the
brace after being modified.
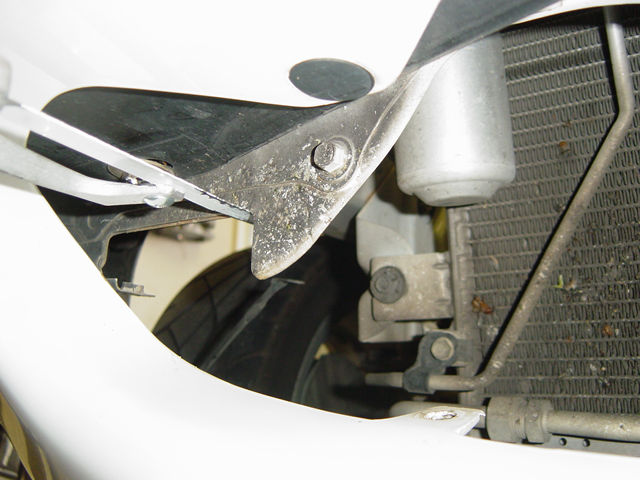
OPTIONAL
The 3 tabs on the bumper
as shown in Photo 1-M that the cowling was attached to can be cut off
for appearance. If reinstalling the cowling in the future the tabs do
not affect the integrity of the mounting.
- Cut away the three
plastic tabs that was holding the shroud in place as shown in
Photo 1-M.
|
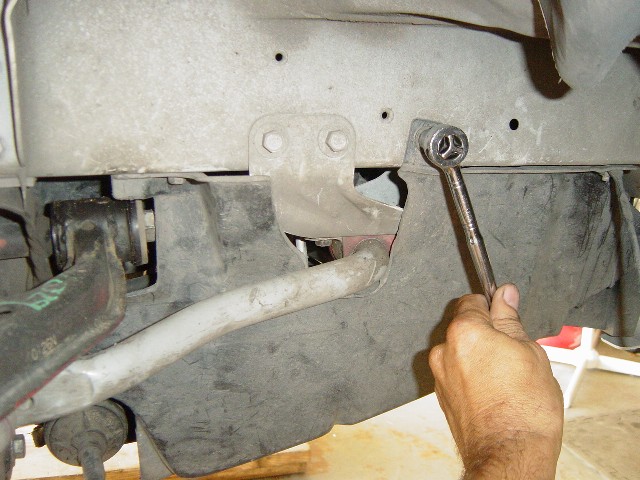
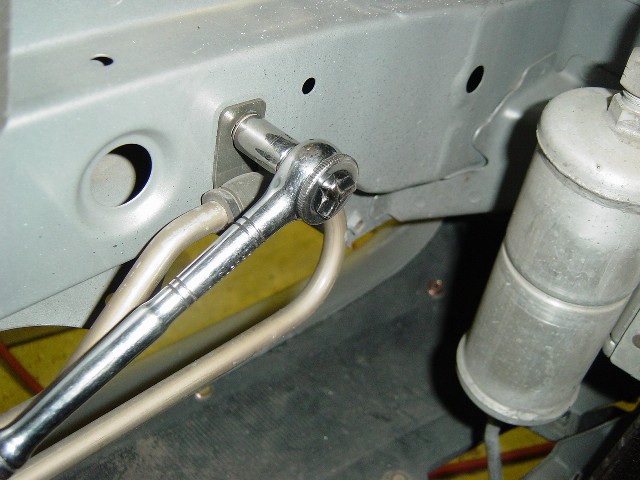
| 1.5 Power
Steering Cooler Removal
If you have power steering you will
see the cooling pipe that needs to be removed. This will be modified
later on. If you do not have power steering or a cooling tube, skip
this step. .
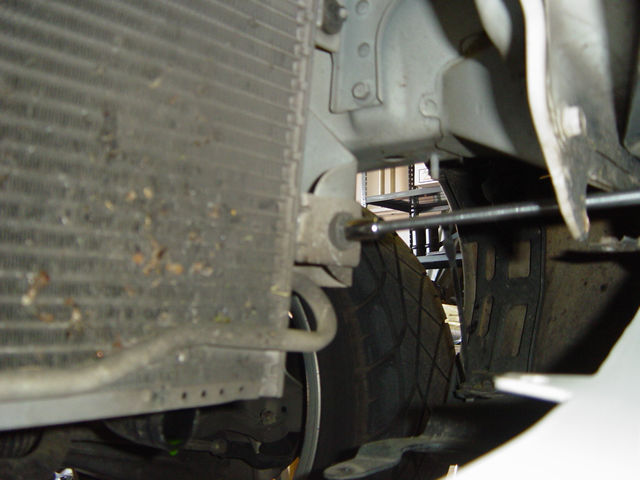
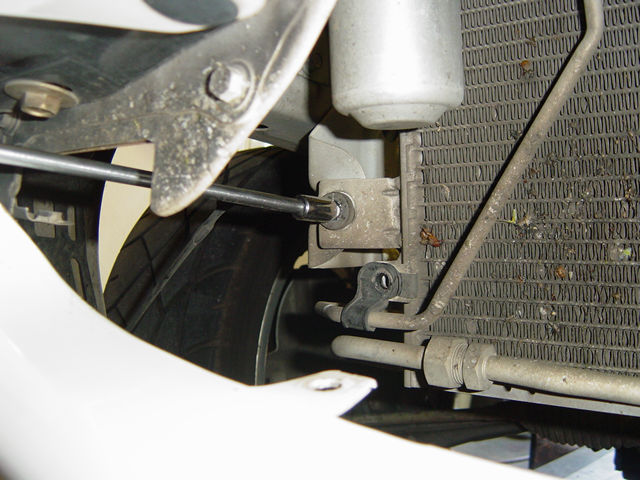
- Remove the two 10mm bolts that
hold the cooling tube in position as shown in Photo 1-N.
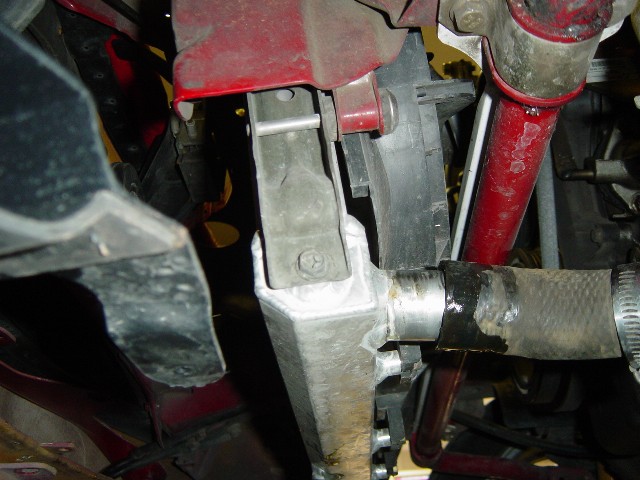
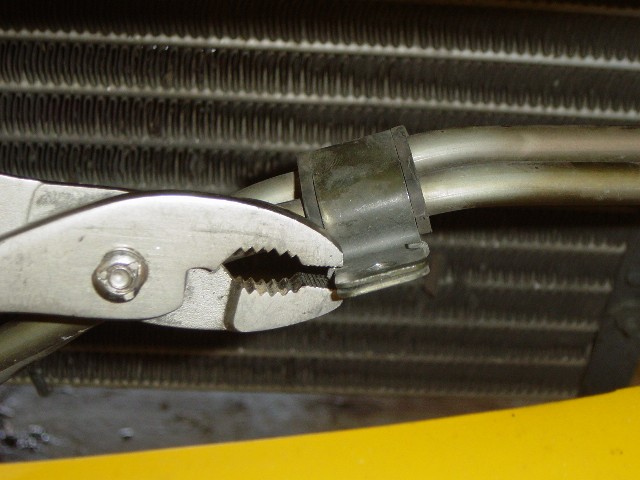
- Using pliers bend the tabs
back on each brackets side as shown in Photo 1-O and remove.
- Place power steering tube off to
the side until Step 8 where we will continue
the modification.
|
Click
on thumbnail image to see larger image in a new window
 |
 |
|
| Photo
1-N: Remove bracket |
Photo
1-O: Remove bracket |
|
|
| |
|
| |
| Step
1: Removal Of Factory Parts |
Step
8: Installing The Power Steering Cooler |
| Step
2: Modifying The Radiator Brackets |
Step
9: Installing The Radiator |
| Step
3: Modifying The Radiator Cross Member |
Step
10: Installing The A/C Evaporator Coil To The Radiator |
| Step
4: Installing The I/C Mounting Support Panels
|
Step
11: Installing The Intercooler Pipes |
| Step
5: Modifying The Evaporator Canister |
Step
12: Installing The Lower Radiator Panels |
|
Step 6: Installing The Upper Radiator Shroud Panels |
Step
13: The Final Adjustments |
| Step
7: Installing The Intercooler |
Index:
Introduction |
|
©2004
Track Dog Racing™ All Rights Reserved |