|

|
| Step 12 - Installing The Lower Radiator
Panels |
|
You
are almost done! We've designed two lower radiator panels to help
the airflow through the engine bay. The Lower-1 panel will attach to
the lower part of the A/C condenser to seal off the bottom. Lower-2
panel attaches to the front bumper and the belly pan so the air flow
under the car stays intact. Lower-1 panel will need some minor trimming
to fit properly since every car is set up differently. The 2001+ models
requires slightly different modifications and is shown in other photo
views.
Hardware
Package A-2 and G
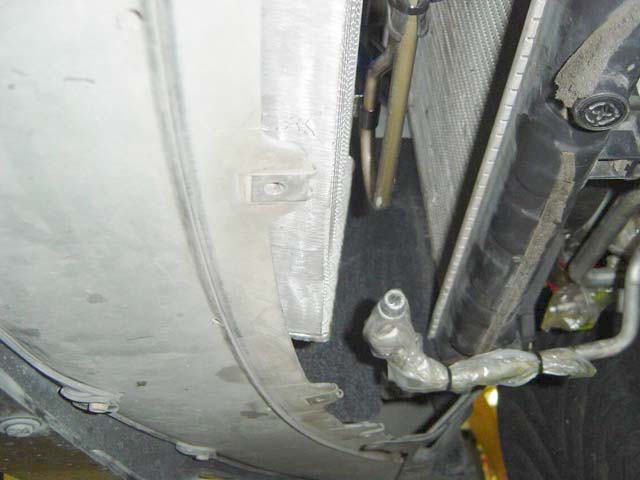
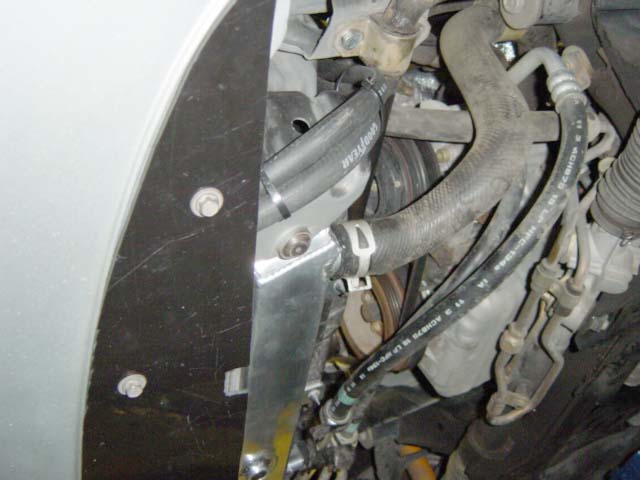
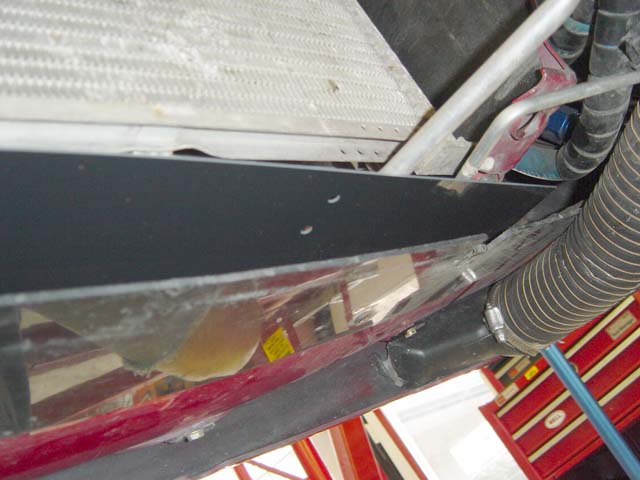
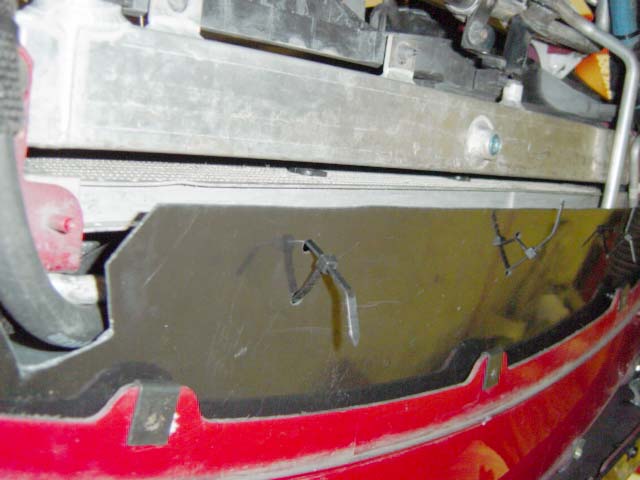
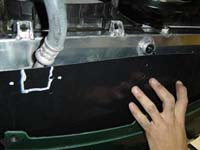
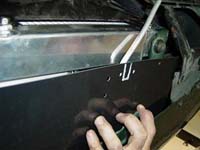
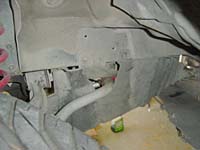
12.1 Lower-1 Panel Install
- The Lower-1 panel is used to reduce airflow going under the A/C evaporator
coil and the radiator. It mounts to the lower part of the front opening
of the car and attaches to the evaporator coil line using Zip-Ties.
- The panel does
not come pre-trimmed as we have seen some variances in models.
But it is not hard to do. You will need a pair of Tin-Snips to make
the cuts. If you don't have a white ink pen, apply masking tape
to the top surface to be cut and outline it as required.
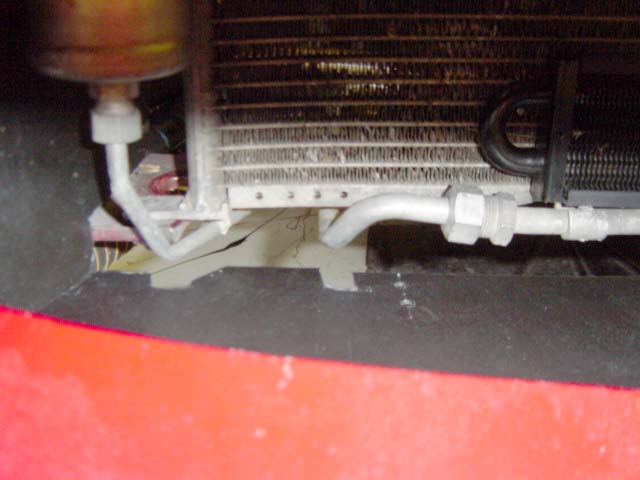
- The rear of this
panel is secured to the A/C condenser's pipes by using Zip-Ties
around the A/C pipe on the bottom of the A/C condenser, as seen in
Photo 12-C for 1999-2000 models and Photo 12-F for 2001+ models. This
will hold the panel into position.
Models 1999-2000
Models 2001+
|
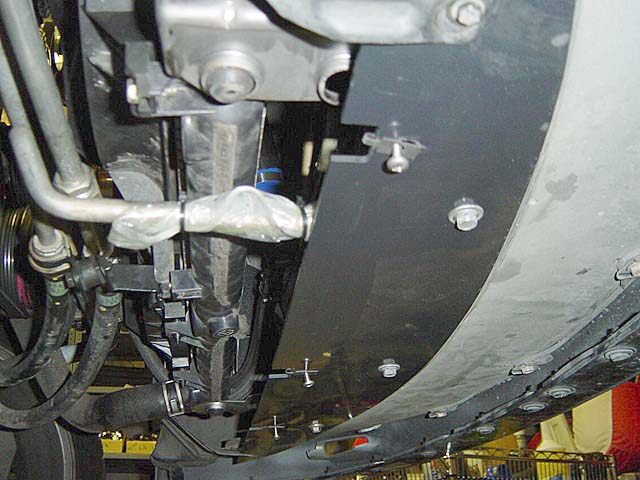
12.2 Installing the Lower-2
Panel - This panel mounts underneath
the car and replaces the OEM cowling. The panel uses the five OEM mounting
locations and hardware that was on the original factory air dam (See
Step 1 for view of the factory air dam Photo 1-C.) The belly pan will
mount to the rear of this panel using the three supplied Speed-Nut clips
provided with the kit for the 1999-2000 models and using the factory
10 mm screws on the 2001+ models.
- Before mounting the
Lower-2 panel to the front bumper, install the hardware that was
used on the factory air dam into the front bumper's five holes as
shown in Photo 12-D. Mount so that the threaded side is on the
top or inside.
- Install the three supplied
Speed-Nut clips in Package A where the notches are present as
shown in Photo 12-H on the 1999-2000 models. Install with the threaded
side on the inside and the texture side on the panel down.
- On the 2001+ models,
modify the two
outer screw holes by slotting the holes as shown in Photo
12-N. This will allow for a better angle to the mounting hole.
- Install the Lower-2
panel to the front bumper using the factory bolts.
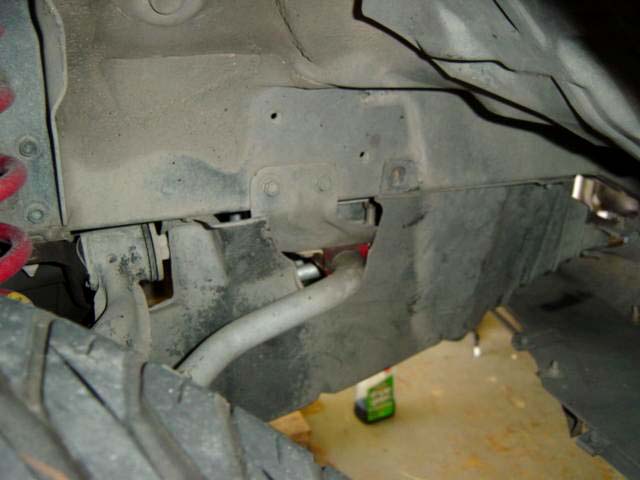
12.3 Reinstalling The
Wheel Well Liners - Install the left and right inner wheel well
liners. See Section One for view of the wheel well liners in Photo 1-A.
12.4 Installing The Factory
Belly Pan - The factory belly pan needs to be trimmed before
reinstallation.
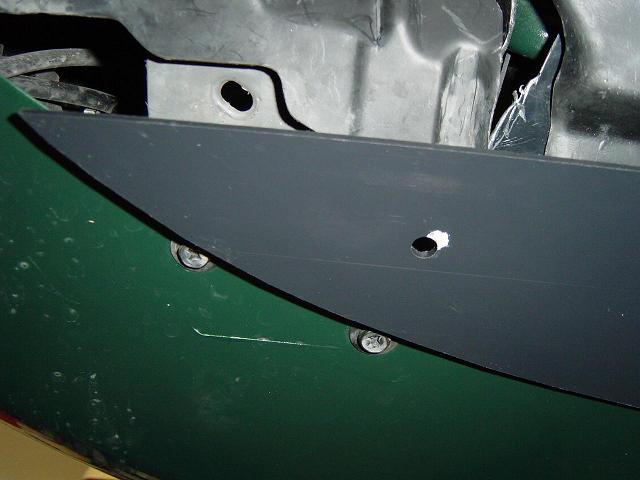
- Using a box knife,
cut away some of the plastic on both sides of the belly pan, as
shown in Photo 12-K. You can make a slit, but reinstalling is
easier if you notch out about a 1/4" width or slot out.
- Reinstall the belly
pan using factory hardware as shown in Photo 12-H. The three front
screws mount into the new Lower-2 panel using the supplied bolts that
attach to the Speed-Nuts on the 1999-2000 models. On the 2001+ models,
use the factory 10 mm screws that were used on the underbody air dam
to attach the belly pan to the new Lower-2 panel as shown in Photo
12-O.
NOTE: It
may be necessary to leave off the side hardware if you belly pan is
to tight. Another option is to remove the side panels as this will aid
in cooling and simplify installation and removal.
Models 1999-2000 |
Click
on thumbnail image to see larger image in a new window |
 |
 |
 |
|
Photo 12-G: Front bumper hardware For Lower-2 panel |
Photo 12-H: Speed-nuts installed on notched-out section |
Photo 12-J: Lower-2 panel installed on front bumper |
 |
 |
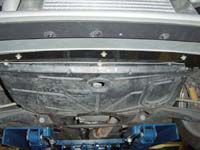 |
| Photo
12-K: Cut-out on belly panel mounted |
Photo
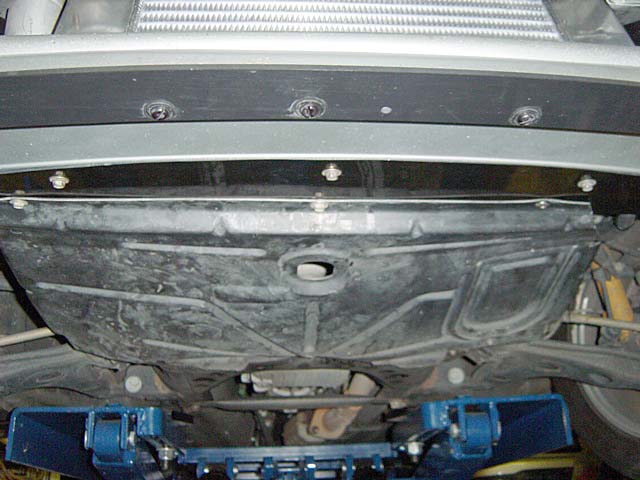
12-L: Belly pan installed |
Photo
12-M: Belly pan installed |
Models
2001+
|
Click
on thumbnail image to see larger image in a new window |
|
|
|
| Photo 12-N: Lower-1
slotting the holes |
Photo
12-O: Using the two factory treaded 10 mm screws |
|
| |