|
 The
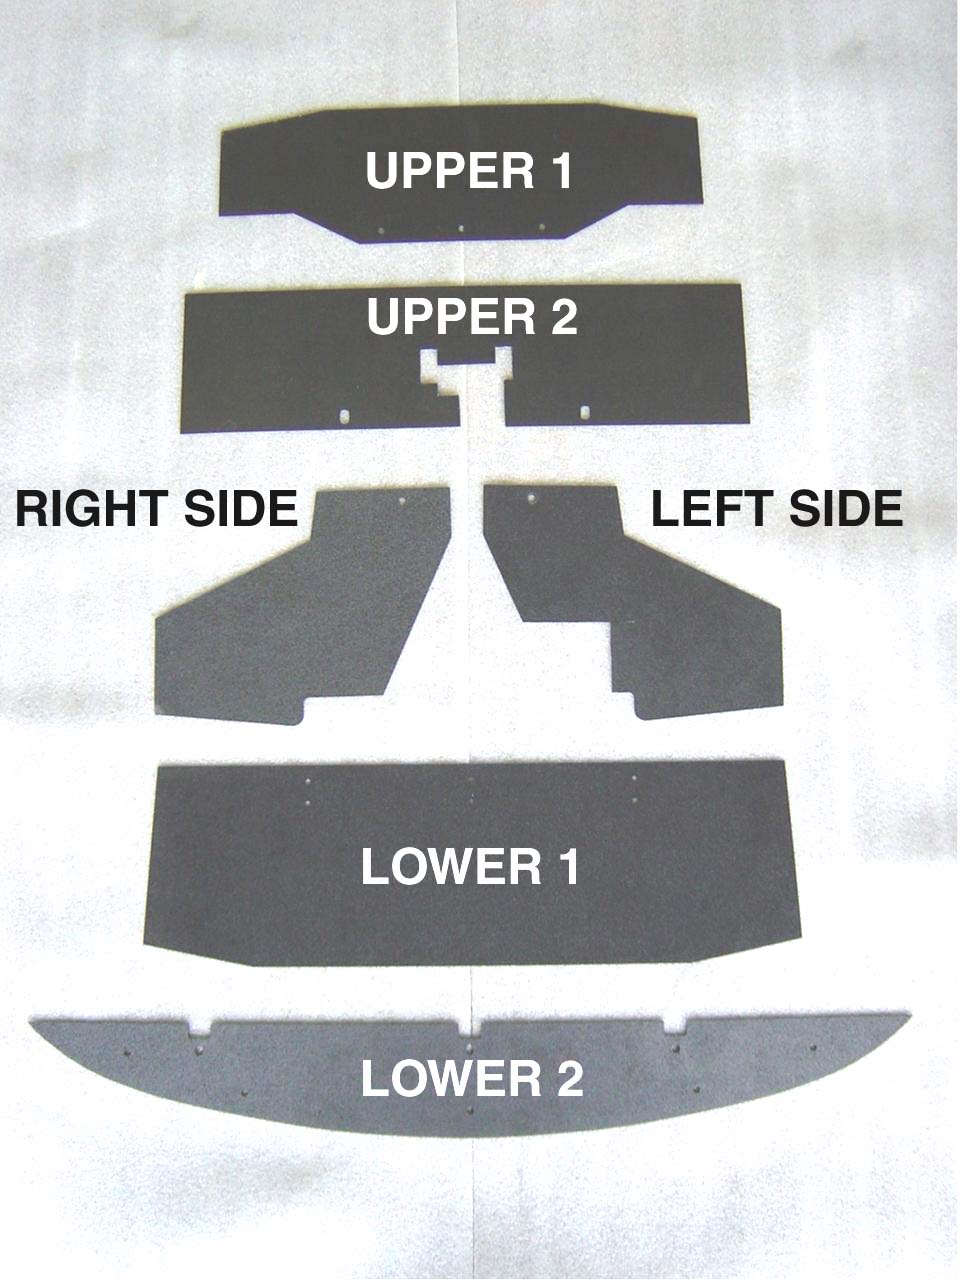
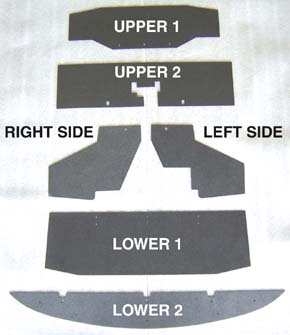
kit comes complete with six ABS plastic panels. These are Upper Panels
1 and 2, Left & Right Side Panels and Lower Panels 1 and 2. These
panels help seal off the air passage and improve the efficiency of the
Intercooler and cooling system. The increase in the frontal area improves
air flow compared to the factory shrouding. The sides are now closed
off, with the new panels providing better airflow through the A/C evaporator
and the radiator. If the panels require any additional trimming use
Tin-Snips to cut the plastic. The
kit comes complete with six ABS plastic panels. These are Upper Panels
1 and 2, Left & Right Side Panels and Lower Panels 1 and 2. These
panels help seal off the air passage and improve the efficiency of the
Intercooler and cooling system. The increase in the frontal area improves
air flow compared to the factory shrouding. The sides are now closed
off, with the new panels providing better airflow through the A/C evaporator
and the radiator. If the panels require any additional trimming use
Tin-Snips to cut the plastic.
The two lower panels will be installed
in Step 12.
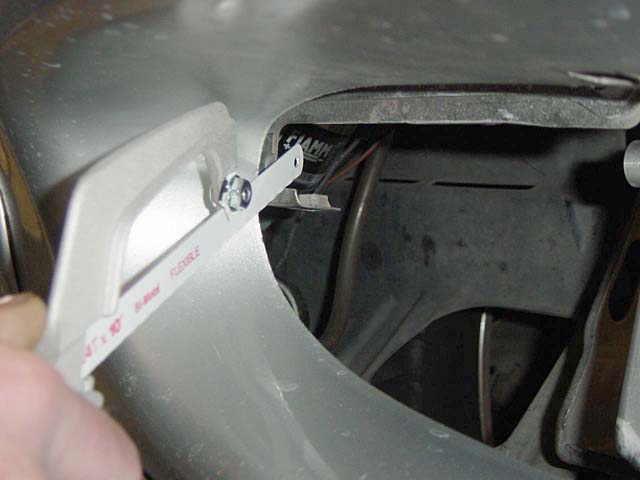
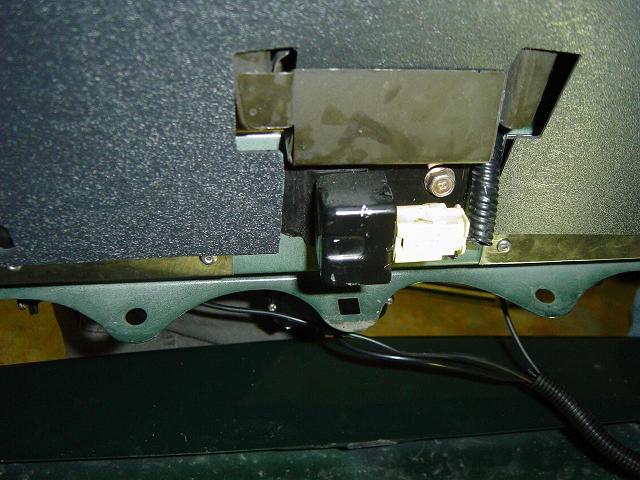
6.1 Modifying The Side
Bracket - The side brackets need to be modified for the side panels
as shown in Photos 6-A and 6-B.
- The bracket is "L" -shaped
with a small half that is about 1/4" high. Cut the bracket only
on this edge so that the tab can be easily bent.
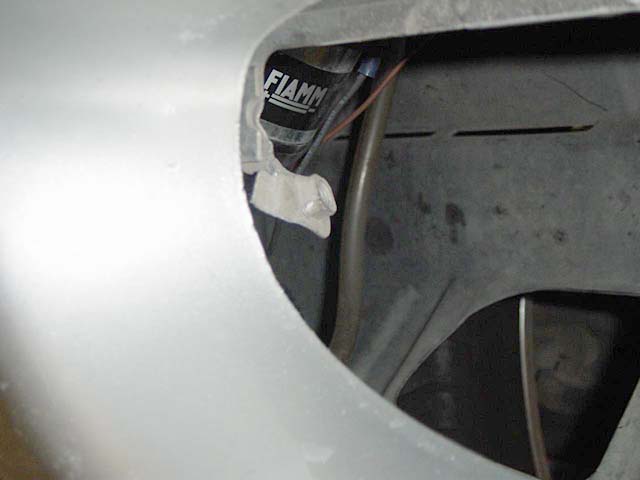
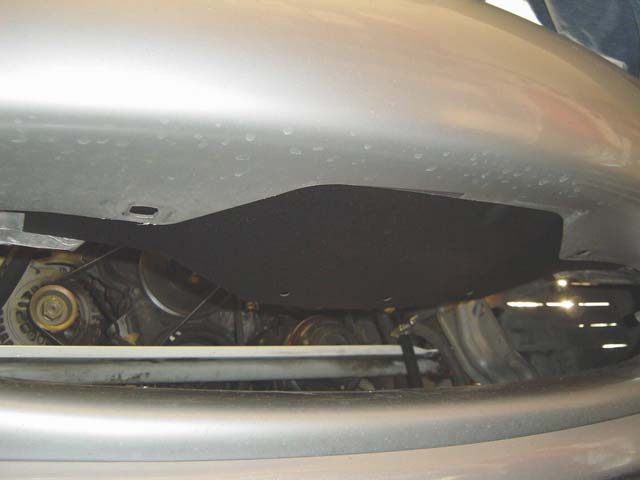
- Using your hand, bend back the
bracket about 90 degrees. This will allow the plastic side panel to
lodge between it and the front bumper as shown in Photos 6-C and 6-D.
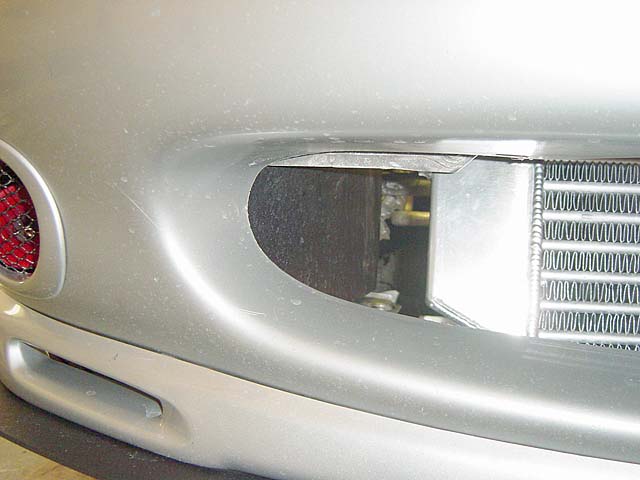
Photo 6-E shows the improvement in the radiator opening using the
new panels
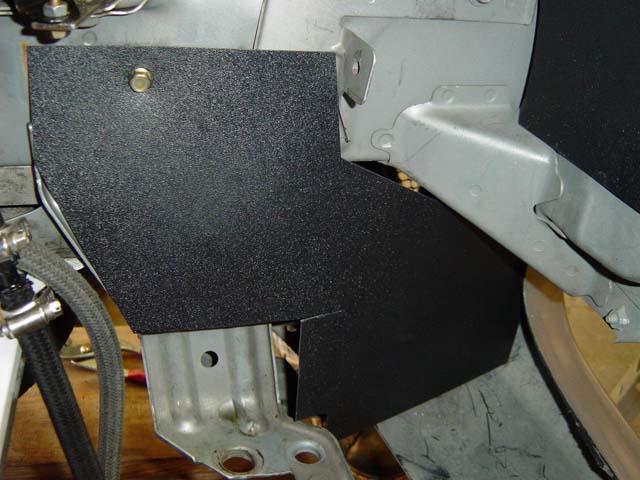
6.2 Left And Right Side
Panels - The left and right side panels install in the same manner.
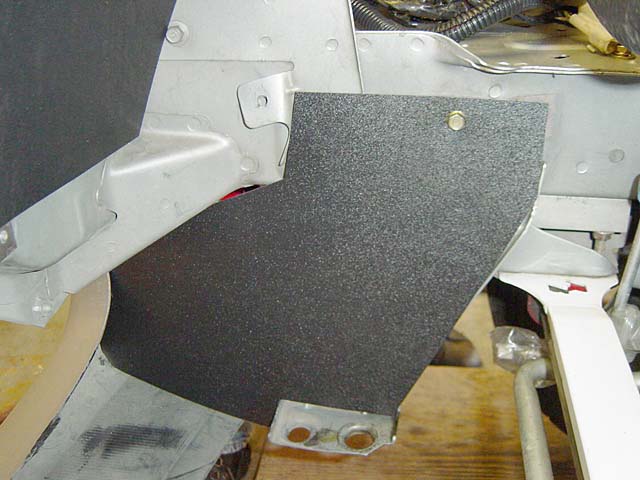
- Install the passanger
side panel with the textured surface facing outwards by feeding
it into the front area of the car from the engine bay. It may take
a bit of wiggling and forcing to get this to fit but the flexibility
of the plastic will help get the panel into place. Be sure that
the front is wedged between the newly cut bracket and the front bumper.
Note that the radiator and A/C evaporator coil have been removed for
photo purposes only.
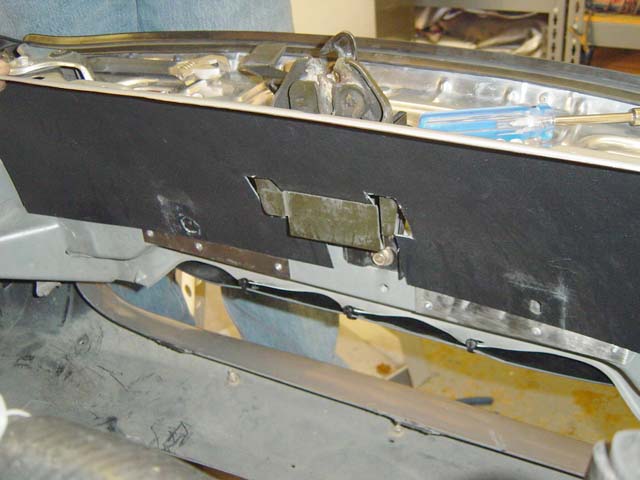
- The hole in the upper
section will line up with the original radiator bracket bolt hole.
Use one of the OEM bolts from the radiator bracket you removed to
secure the panel in place as shown in Photos 6-C and 6-D. Repeat for
the other side.
- Hold off installing the drivers side panel until you modify the
power steering cooling tube in STEP 8. Then
refer back to these instructions to complete the installation.
|