|
There are two radiator brackets that
hold the radiator and A/C condenser into place. These will be replaced
with the two modified factory radiator mounts supplied in this kit.
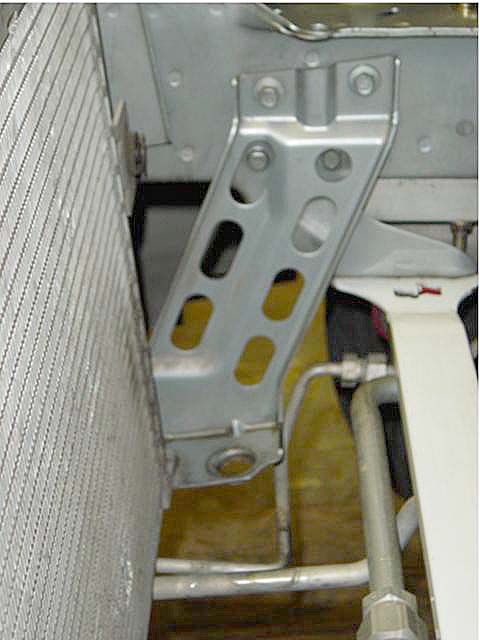
The OEM passenger side bracket is
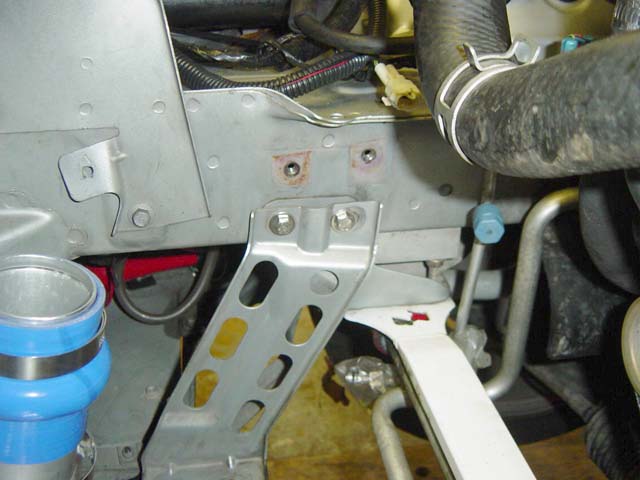
shown in Photo 2-A. Photo 2-B shows how the new bracket is installed
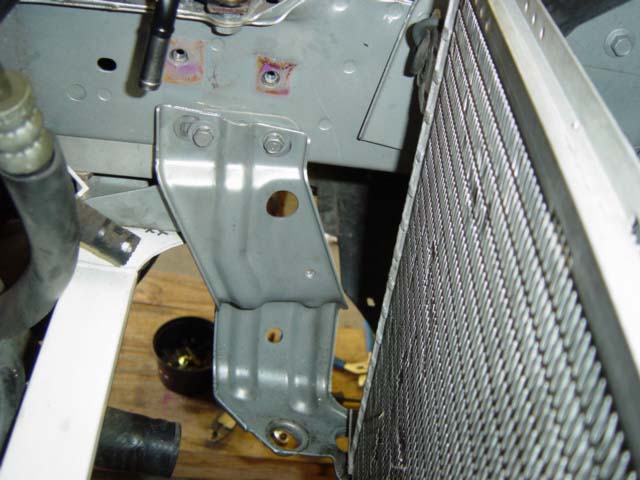
in the new lower position. This has to be done on both sides. Photo
2-C shows the relocated driver's side radiator bracket in its proper
position.
Hardware Package A-2 and Radiator
Brackets
- Remove the two 10mm bolts that
hold the radiator brackets into place. Be sure the A/C condenser
is supported when you remove the brackets.
- Remove the two 10mm bolts that
hold the sway bar mount on each side.
- Install the modified brackets
using the supplied 10 x 25mm long bolts and washers from Package
A-2 in the mounting holes that the sway bar brackets used, as seen
in Photos 2-B and 2-C. When tightening the bolts make sure the new
modified radiator brackets are to the rear- most position. Adjustment
may be required after you install the radiator.
|