|
The 1999-2000 models use
a different A/C evaporator coil from the 2001+ models. Refer to section
4.2 for modification on the 2001+ models.
4.1 Modify the
1999-2000 Model A/C Evaporator Coil
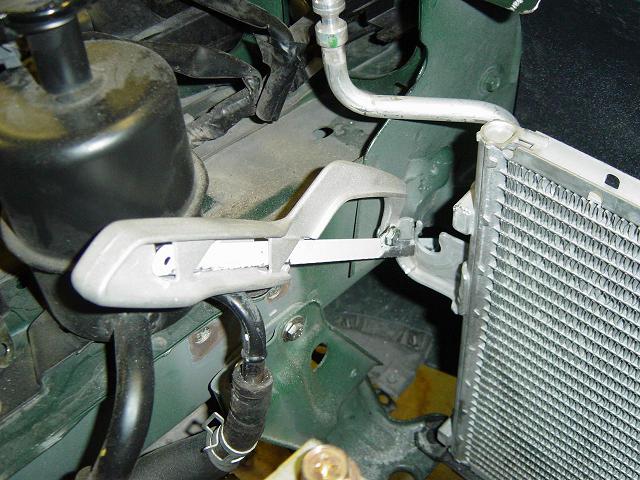
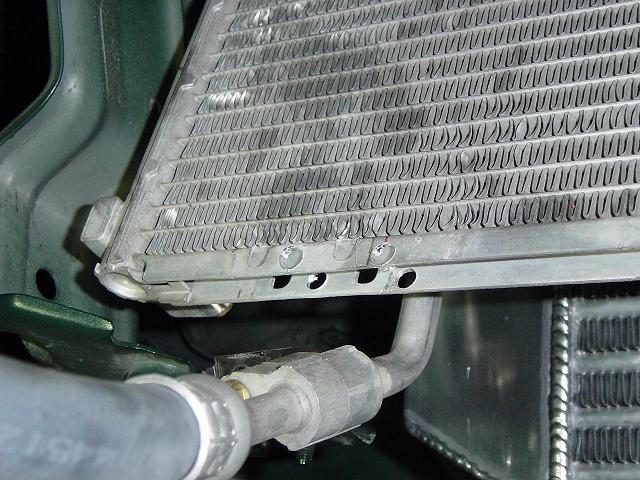
The evaporator canister
on the front passenger side of A/C condenser coil has to be bent out
of the way as shown in Photos 4-B and Photo 4-C to make room for the
intercooler. Take caution when bending this evaporator canister and
bracket.
- Bend the tab on
the passenger side close to flat as shown in Photo 4-A as compared
to Photo 4-B. This tab bends pretty easily. Use the
handle of a hammer and push it over. Note: the A/C unit was removed
for photo purposes.
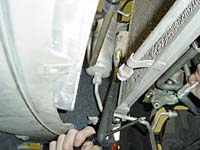
- Use a large Crescent
wrench and clamp onto the aluminum bracket as shown in Photos
4-D or 4-E.
- Stick a screwdriver
through the hole at the end of the wrench for leverage and rotate
clockwise. The bracket will bend around.
- Rotate from the top
and bottom as you bend in small increments until the canister
has rotated approximately 90 degrees.
- Don't overdo it.
Bend in small increments, making sure you don't damage anything.
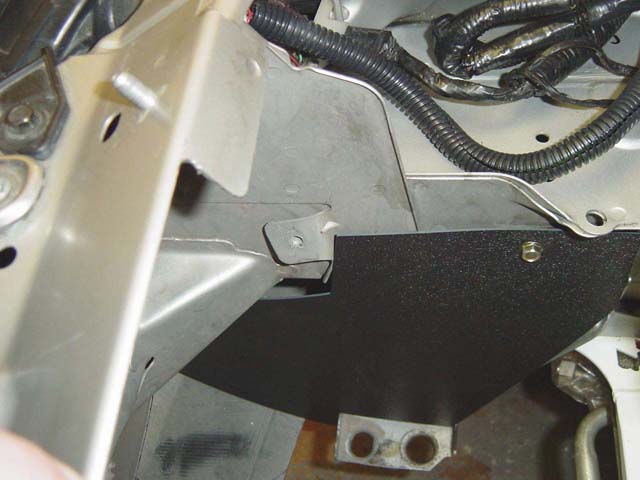
You might have to go back and add a little more bend after the intercooler
is in place to get good clearance, as shown in Photo 4-F.
You do not want to A/C
unit and the Intercooler to rub.
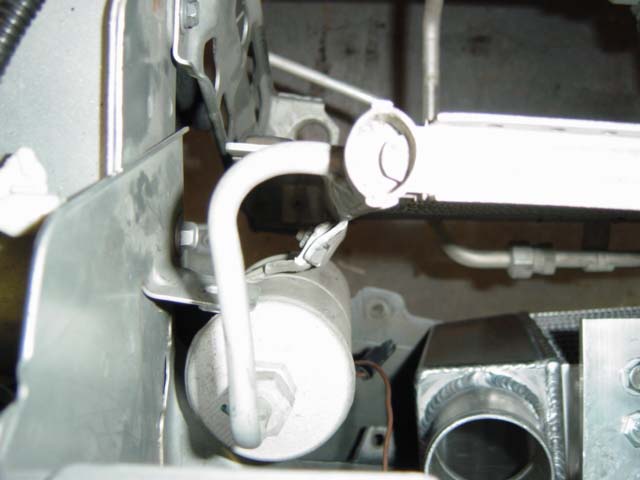
- Next, bend the lower
tube on the condenser coil as shown in Photo 4-E. When you install
the Lower-1 panel it will attach to this tube with Zip-Ties.
Click on thumbnail
image to see larger image in a new window
 |
 |
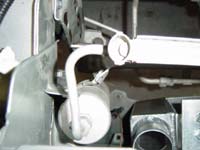 |
| Photo
4-A: Bent tab |
Photo
4-B: Canister In original position |
Photo
4-C: Canister in bent position |
 |
 |
 |
| Photo
4-D: Bending canister using crescent wrench on top |
Photo 4-E: Bending canister using crescent wrench on bottom. Lower
A/C tube bent down. |
Photo 4-F: Canister clearance with intercooler installed |
4.2 Modify the
Upper Brackets For The 2001+ Model A/C Evaporator Coil
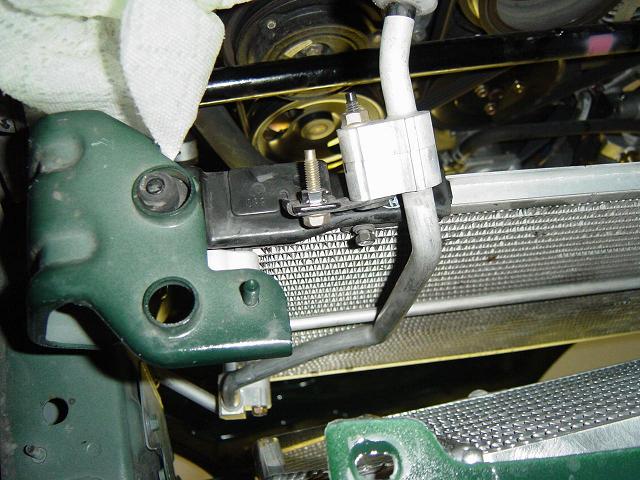
The upper bracket modification
requires modifying the two side brackets to support the rubber stops.
The A/C evaporator coil will be moved over about 1/2" to the
left to add additional clearance required around the supercharger/intercooler
inlet pipe.
Hardware Package
B-2
- Cut off about a 1/4"
of the drivers side bracket as shown in Photo 4-G.
- Using Channel Locks
or some other tool as shown in Photo 4-J, bend the passenger
side bracket back towards the engine about a 1/4" or as required
after you install the rubber support.
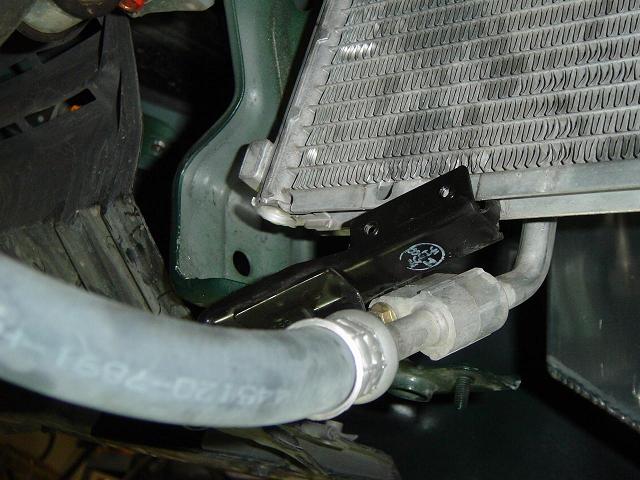
- Use the Phillips
head screws and washers supplied in Package B-2 to attach the
1" thick rubber support as shown in Photos 4-K and 4-L.
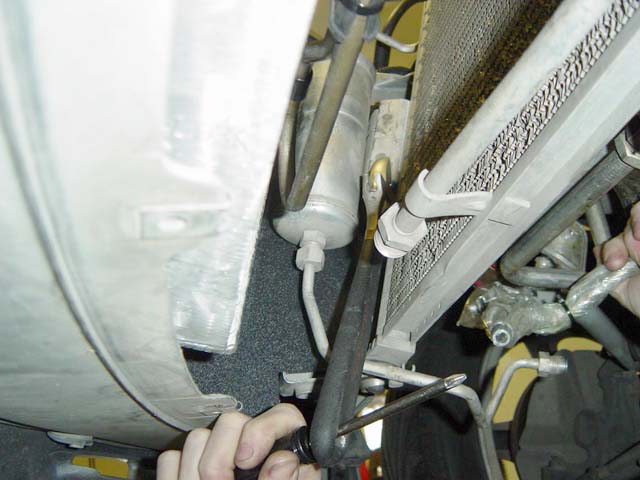
- After the lower modification
check for clearances between the A/C evaporator coil and the
radiator and adjust as required as shown in Photos 4-K and 4-M.
Click on thumbnail
image to see larger image in a new window
|
|
|
|
| Photo
4-G: Cut 1/4" off the drivers side A/C support bracket |
Photo
4-H: Use a saw blade to cut the aluminum bracket |
Photo
4-J: Bend the passenger side bracket towards the back |
|
|
|
|
| Photo
4-K: Install rubber support and check clearance between A/C coil
and the radiator |
Photo 4-L: Install rubber support and check clearance between
A/C coil and the radiator |
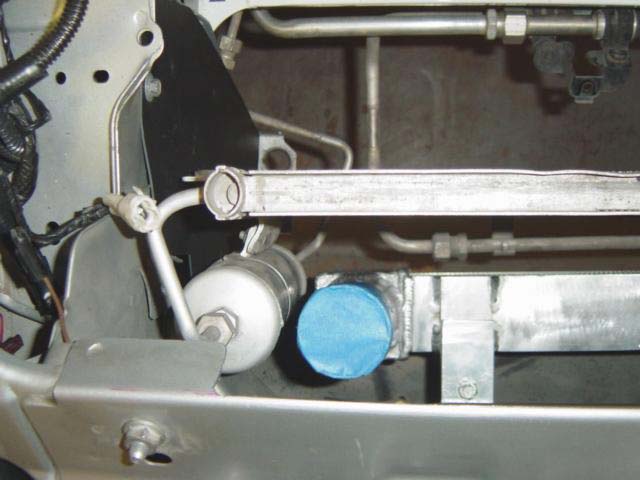
Photo 4-M:Check clearance and bend as required the A/C line under
the radiator |
4.3 Modify the
Lower Brackets For The 2001-2003 Model A/C Evaporator Coil
The evaporator coil for
the 2001+ models must move over about 1/2" toward the drivers
side to add additional clearance for the upper hose filler tube. The
lower bracket supports can be removed and reinstalled after drilling
new holes into the u-channel. Photos are taken looking from the back
side.
- Using a 10 mm wrench
remove the lower bracket on one side only as shown on the drivers
side in Photo 4-N and 4-O. Leave the other bracket on to help support
the A/C evaporator coil while you modify.
- Measure and mark
a 1/2" to the RIGHT two new holes. Either use a 1/8"
drill bit to pilot the holes or use a snap-punch to scribe a starter
position.
- Use a 1/4"
drill bit and drill carefully into the u-channel as shown
in Photo 4-P.
- Reinstall the lower
bracket and adjust the lower hose as required to fit the new
position.
- Modify the other
bracket using the same methods described above.
- Bend the A/C tube
by pressing the tube against the intercooler as shown in Photo 4-Q.
This Step is done after you install the Intercooler in Step
7.
Click on thumbnail
image to see larger image in a new window
|
|
|
|
| Photo
4-N: Remove the two bolts hold the left and right bracket |
Photo
4-O: Pull the bracket off the A/C evaporator coil |
Photo
4-P: Drill two 1/4" holes 1/2" toward the drivers side
|
|
|
|
|
| Photo
4-Q: Bend the A/C tube by pressing against the intercooler |
|
|
|