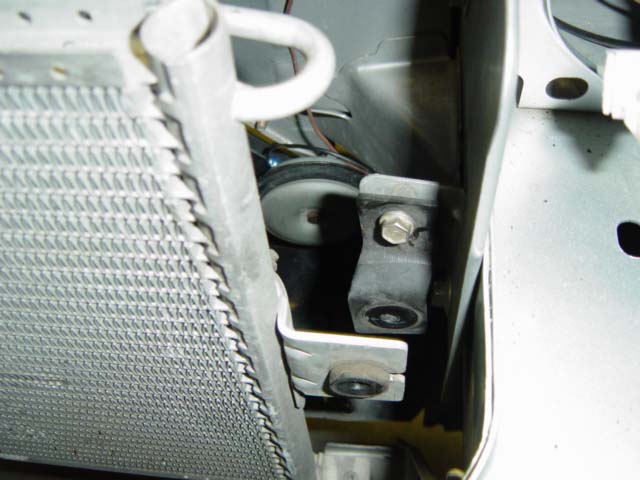
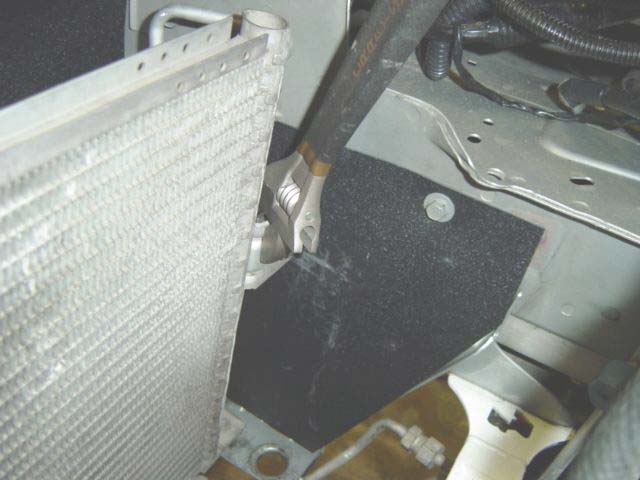
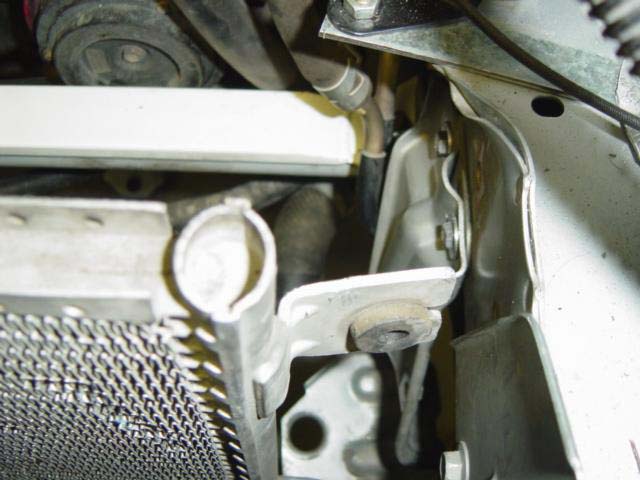
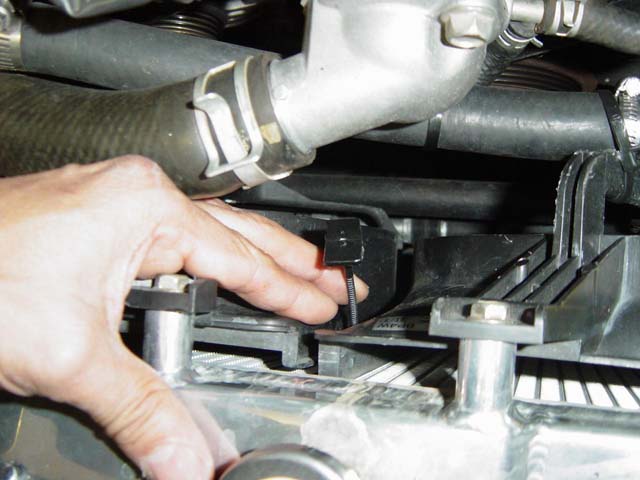
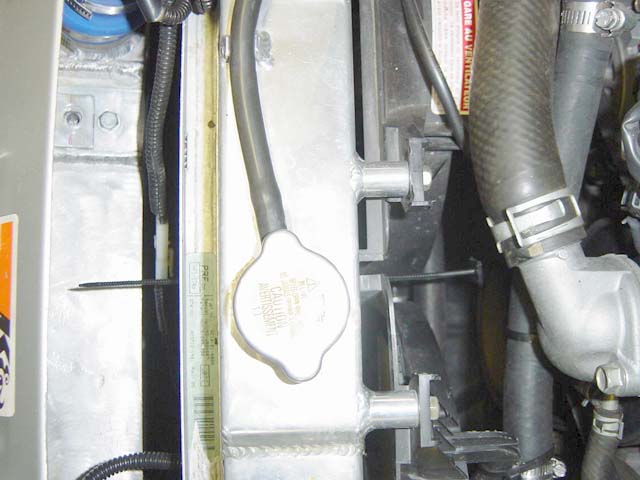
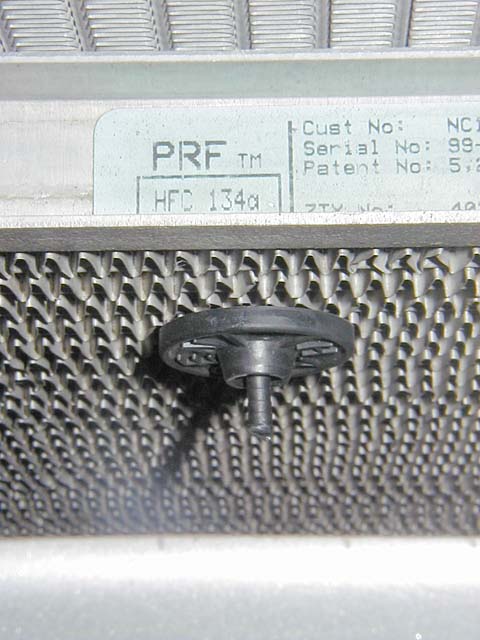
Step 10 - Attaching The A/C Evaporator Coil To The Radiator
 

The evaporator coil has a bracket with a rubber grommet on each side as shown in Photo 10-A.  To help with clearance between the evaporator coil and the radiator you will need to bend the brackets toward the radiator. An automotive push-on type Zip-Tie is used to support the A/C evaporator coil in place. Even though the evaporator coil is close to the radiator, the A/C fans are always turned on, pulling cool air through it.  Efficiency might be reduced a little in stop-and-go situations, but highway driving cooling should be normal.

The 2001+ models attachment is similar to the 1999-2000 model. The photos below are for the 1999-2000 model. Refer to Step 4 for additional photos of the rubber supports on the A/C evaporator coil and any adjustments that might be required.

Hardware Package G

  • Using a Crescent wrench or other tool, bend the aluminum bracket toward the radiator as shown in Photo 10-B. Make sure the rubber meets the radiator, not the bracket.
  • Depending on the type of radiator you are using, you may have to bend the tips of the bracket first so the rubber will better meet the radiator.
  • Install the supplied push-on type Zip-Tie about 2inches from the top of the radiator by pushing it through the coil and between the fans as shown in Photo 10-D. The Zip-Tie will go through both the radiator and evaporator coils.
  • Attach the locking clip by pushing the locking device on to the Zip-Tie as shown in Photo 10-E.  If the rubber grommets on the side brackets are not touching the radiator, readjust.
  • Pull the Zip-Tie just enough to pull the evaporator coil against the rubber grommets. Do not over-tighten and place unnecessary stress on the radiator or condenser.
Click on thumbnail image to see larger image in a new window
Photo 10-A: Evaporator coil bracket Photo 10-B: Wrench bending the bracket Photo 10-C: Bracket bent back
Photo 10-D: Install the supplied push-on type Zip-tie Photo 10-E: Push Zip-Tie through Photo 10-F: Install locking clip
Step 1: Removal Of Factory Parts Step 8: Installing The Power Steering Cooler
Step 2: Installing The Radiator Brackets Step 9: Installing The Radiator
Step 3: Modifying The Radiator Cross Member Step 10: Installing The A/C Evaporator Coil To The Radiator
Step 4: Modifying The Evaporator Canister Step 11: Installing The Intercooler Pipes
Step 5: Installing The I/C Mounting Support Panels Step 12: Installing The Lower Radiator Panels
Step 6: Installing The Radiator Shroud Panels Step 13: The Final Adjustments
Step 7: Installing The Intercooler Main Page

©2004 Track Dog Racing™ All Rights Reserved