|
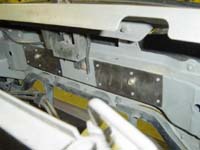
The stainless steel support
panels mount to the sub frame for added strength. Clearance between
the A/C evaporator coil and the sub frame is minimal and may not allow
a standard electric drill. Air drills are normally shorter and
will aid your drilling. Be careful to not overstress the A/C
evaporator coil when bending it back.
Hardware Package
C
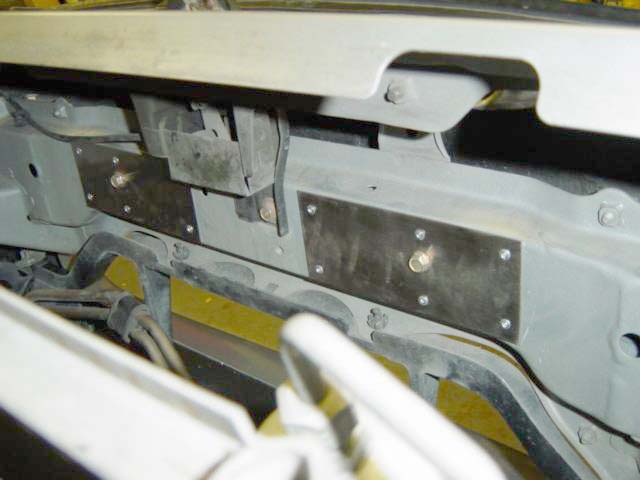
- The larger bolt
hole is offset a little and mounts toward the top. The top and
bottom surfaces should be flush with the sub frame. See Photos 5-A
and 5-C for placement of the mounting plate.
- Attach both mounting
plates using the supplied 10 x 25mm long bolts
and washers from Package C.
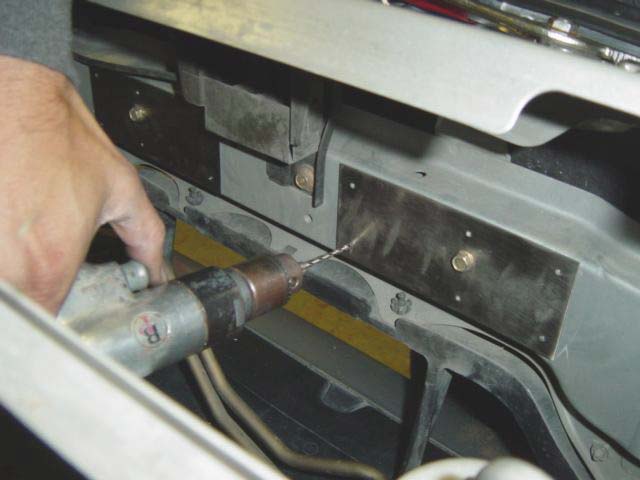
- Using a 1/8"
drill bit, drill one pilot hole and then rivet that hole
to help keep the plate in alignment. Use the stainless steel rivets
supplied. The stainless steel rivets are considerable harder to
press, but add additional strength over aluminum rivets.
- Drill remaining holes
and attach rivets to both plates. Remove the 10 x 25 mm bolt.
Click on thumbnail
image to see larger image in a new window
 |
|
 |
|
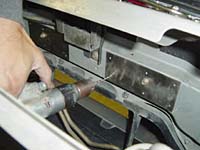
Photo 5-A: Drill 1/8" holes using pilot holes in plate |
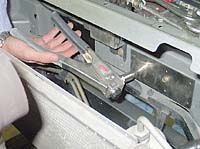
Photo
5-B: Rivet mounting panel |
Photo
5-C: Mounting panel with rivets attached |
|